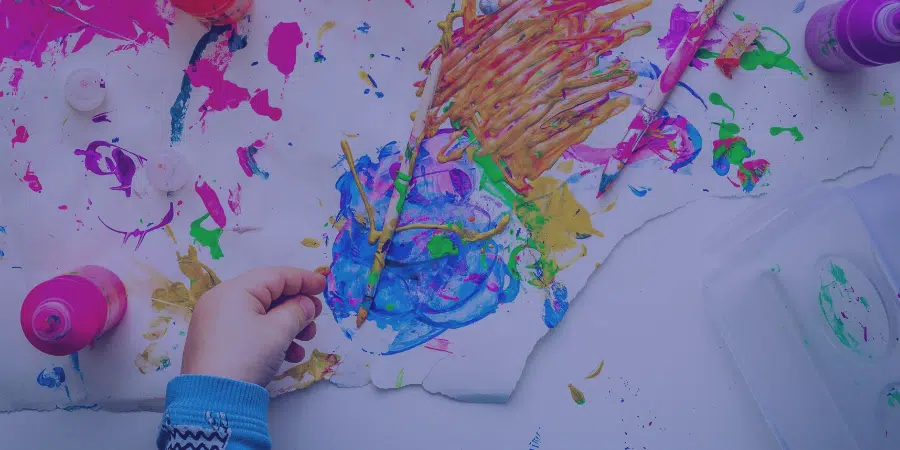
Expanding your offerings to teach online art classes is one of the best ways to grow and diversify your student base. Working from home provides you with increased flexibility, an expanded customer base and encourages students to embrace a new mode of collaboration and creativity. Additionally, technology is on your side; making online teaching easier than ever. Whether you’re just learning how to start teaching art classes or hoping to diversify your studio’s services, let this post be your starting point.
How To Teach Online Art Classes
Online art school has unique benefits and challenges. When you’re teaching in person, you can read the expressions and mannerisms of your students. You also have the benefit of being able to control the environment with music and lighting.
However, art teacher online classes allow for students to create art from the comfort of their own homes. There is also more room for students to grow and explore without the pressure from peers or an instructor sitting nearby. This also allows you to reach new students who couldn’t normally attend in-person classes.
With these challenges and benefits in mind, this is your guide on how to teach online art classes.
1. Decide on a format
There are a few approaches to online teaching. For some teachers, they enjoy the synchronous “live” format that enables dialogue and instruction that happens in real time. It’s much like being in class, but everyone meets via their computers.
On the other hand, some teachers prefer to record a class and edit features into the video in post-production. This may include close-up images, PDF instructions, and various camera angles. You can even narrate over a video of yourself creating a piece of art. This option also makes it more flexible for scheduling.
Not sure which option is best for you? Try incorporating both elements into your services by hosting live classes and recording them for later releases.
2. Choose a live class platform
If you decide to go with live classes, you’ll need to select a video platform to use. While there are many to choose from, the most popular options are Zoom and Google Meet.
With Zoom, a free membership currently allows you to host up to 100 participants, but you’ll be limited to 40 minutes. Monthly membership fees allow you to expand your services. Plans start at $14.99 per month. If you use Studio Director, you can also use our Zoom discount and we’ll help you set up this option for your studio.
On Google Meet, anyone with a Google account can create a video meeting, invite up to 100 participants, and meet for up to 60 minutes per meeting for free. For additional features, plans start at $10 per month.
If you choose to record your classes, you can then release them publicly on YouTube or limit users with a password-protected service like Vimeo. You can also use teacher-specific platforms like Udemy and Skillshare for additional features.
3. Get the right equipment
If you’re researching how to teach art classes from home, you may be tempted to get professional cameras, but this isn’t entirely necessary. Simply invest in a good HD webcam to achieve a clear picture to start. If you have the option, plugging your computer directly into an ethernet cable will help you avoid Wi-Fi issues that can interrupt your video feed.
Using a smartphone or tablet instead of a webcam? Many of the recent generations of iPads and iPhones have exceptional video capability. Just purchase a tripod and ensure you’re using it in a room with good lighting.
4. Familiarize yourself with online video conferencing
While every video platform is different, there are certain features you’ll find on all of them. Familiarize yourself with options that will help you control your online art school settings.
For example, it’s best to keep all of your students on mute while you’re actively instructing. This will eliminate distracting background noise and make your audio clearer. You can also play with different settings that allow you to see all of your students on your screen at one time.
5. Prepare for technical difficulties
Unfortunately, technical difficulties come with the territory. Whether or not it’s on your end, there may be a few bumps in the road.
One way to help your students is to send them the quick start guide for whatever platform you’re using. This will help you ensure a smooth set-up and they’ll receive troubleshooting tips. Ask them to log-on before the class begins to make sure everything is working correctly, and be available to answer any questions.
6. Record a practice run
No matter how far technology has come, teaching online is still different from teaching in person.
Experiment with different camera angles and techniques and record a practice run. Ask one of your colleagues or a trustworthy friend to give you honest feedback. This will help you make necessary adjustments before it’s time to go live before a classroom of students.
7. Provide details and references in advance
Most art teachers have examples of their work around the room during a lesson. You may even pass out pamphlets regarding tips and techniques. These are helpful additions to any class that should be available for online students as well.
Before class, send out an email with any materials and examples of what they’ll be working on. Aim for supplying this information a few days in advance. This will give each of your students plenty of time to prepare for class.
Are you teaching a course that will have weekly classes for a given amount of time? Supply a course schedule at the very beginning. Your students will enjoy being able to see what’s ahead as they progress.
8. Use digital marketing to reach students
If you’re going to teach online art classes, you’ll want to reach students who are already online with a solid digital marketing strategy. Promote your business with targeted social media posts, a detailed website, updated profiles on review pages like Yelp, and email marketing to your current students.
Not sure where to begin when it comes to social media? Don’t stretch yourself thin. Choose two platforms to invest your time and energy. Instagram and Facebook are still two of the most popular and come with the added bonus of easy integration with each other.
Further, you can encourage students to share their finished pieces to your social media accounts or with branded hashtags.

9. Set up convenient online registration and tuition
Enrollment must be easy if you want to recruit students. The Studio Director’s unique software can help you automate and streamline these key administrative tasks. It provides added value to your customers by allowing you to:
- Handle online enrollment and registration with one solution
- Set up convenient recurring or one-time online payments
- Send automatic email newsletters, class schedules, and other communications to new and existing students
To find out more about The Studio Director’s product features, contact us today.
10. Go beyond classroom limits using this new method
Use your newfound online teaching skills to enhance your in-studio classes and provide further instruction.
For example, create a YouTube channel with instructional videos and optional assignments. This will give your students more ways to seek your teaching, while also serving as a marketing tool. Or, schedule a class to make a collaborative art project that can be done online and together with our students.
Build Your Online Art School
The Studio Director was designed to serve businesses that thrive on a schedule-driven, class-based environment. With less time required behind the scenes, you’ll be able to redirect your focus back to the relationships and level of service to expand your art school’s reach, both online and off.
Ready to get started? Schedule a product demo or request a customized free trial.